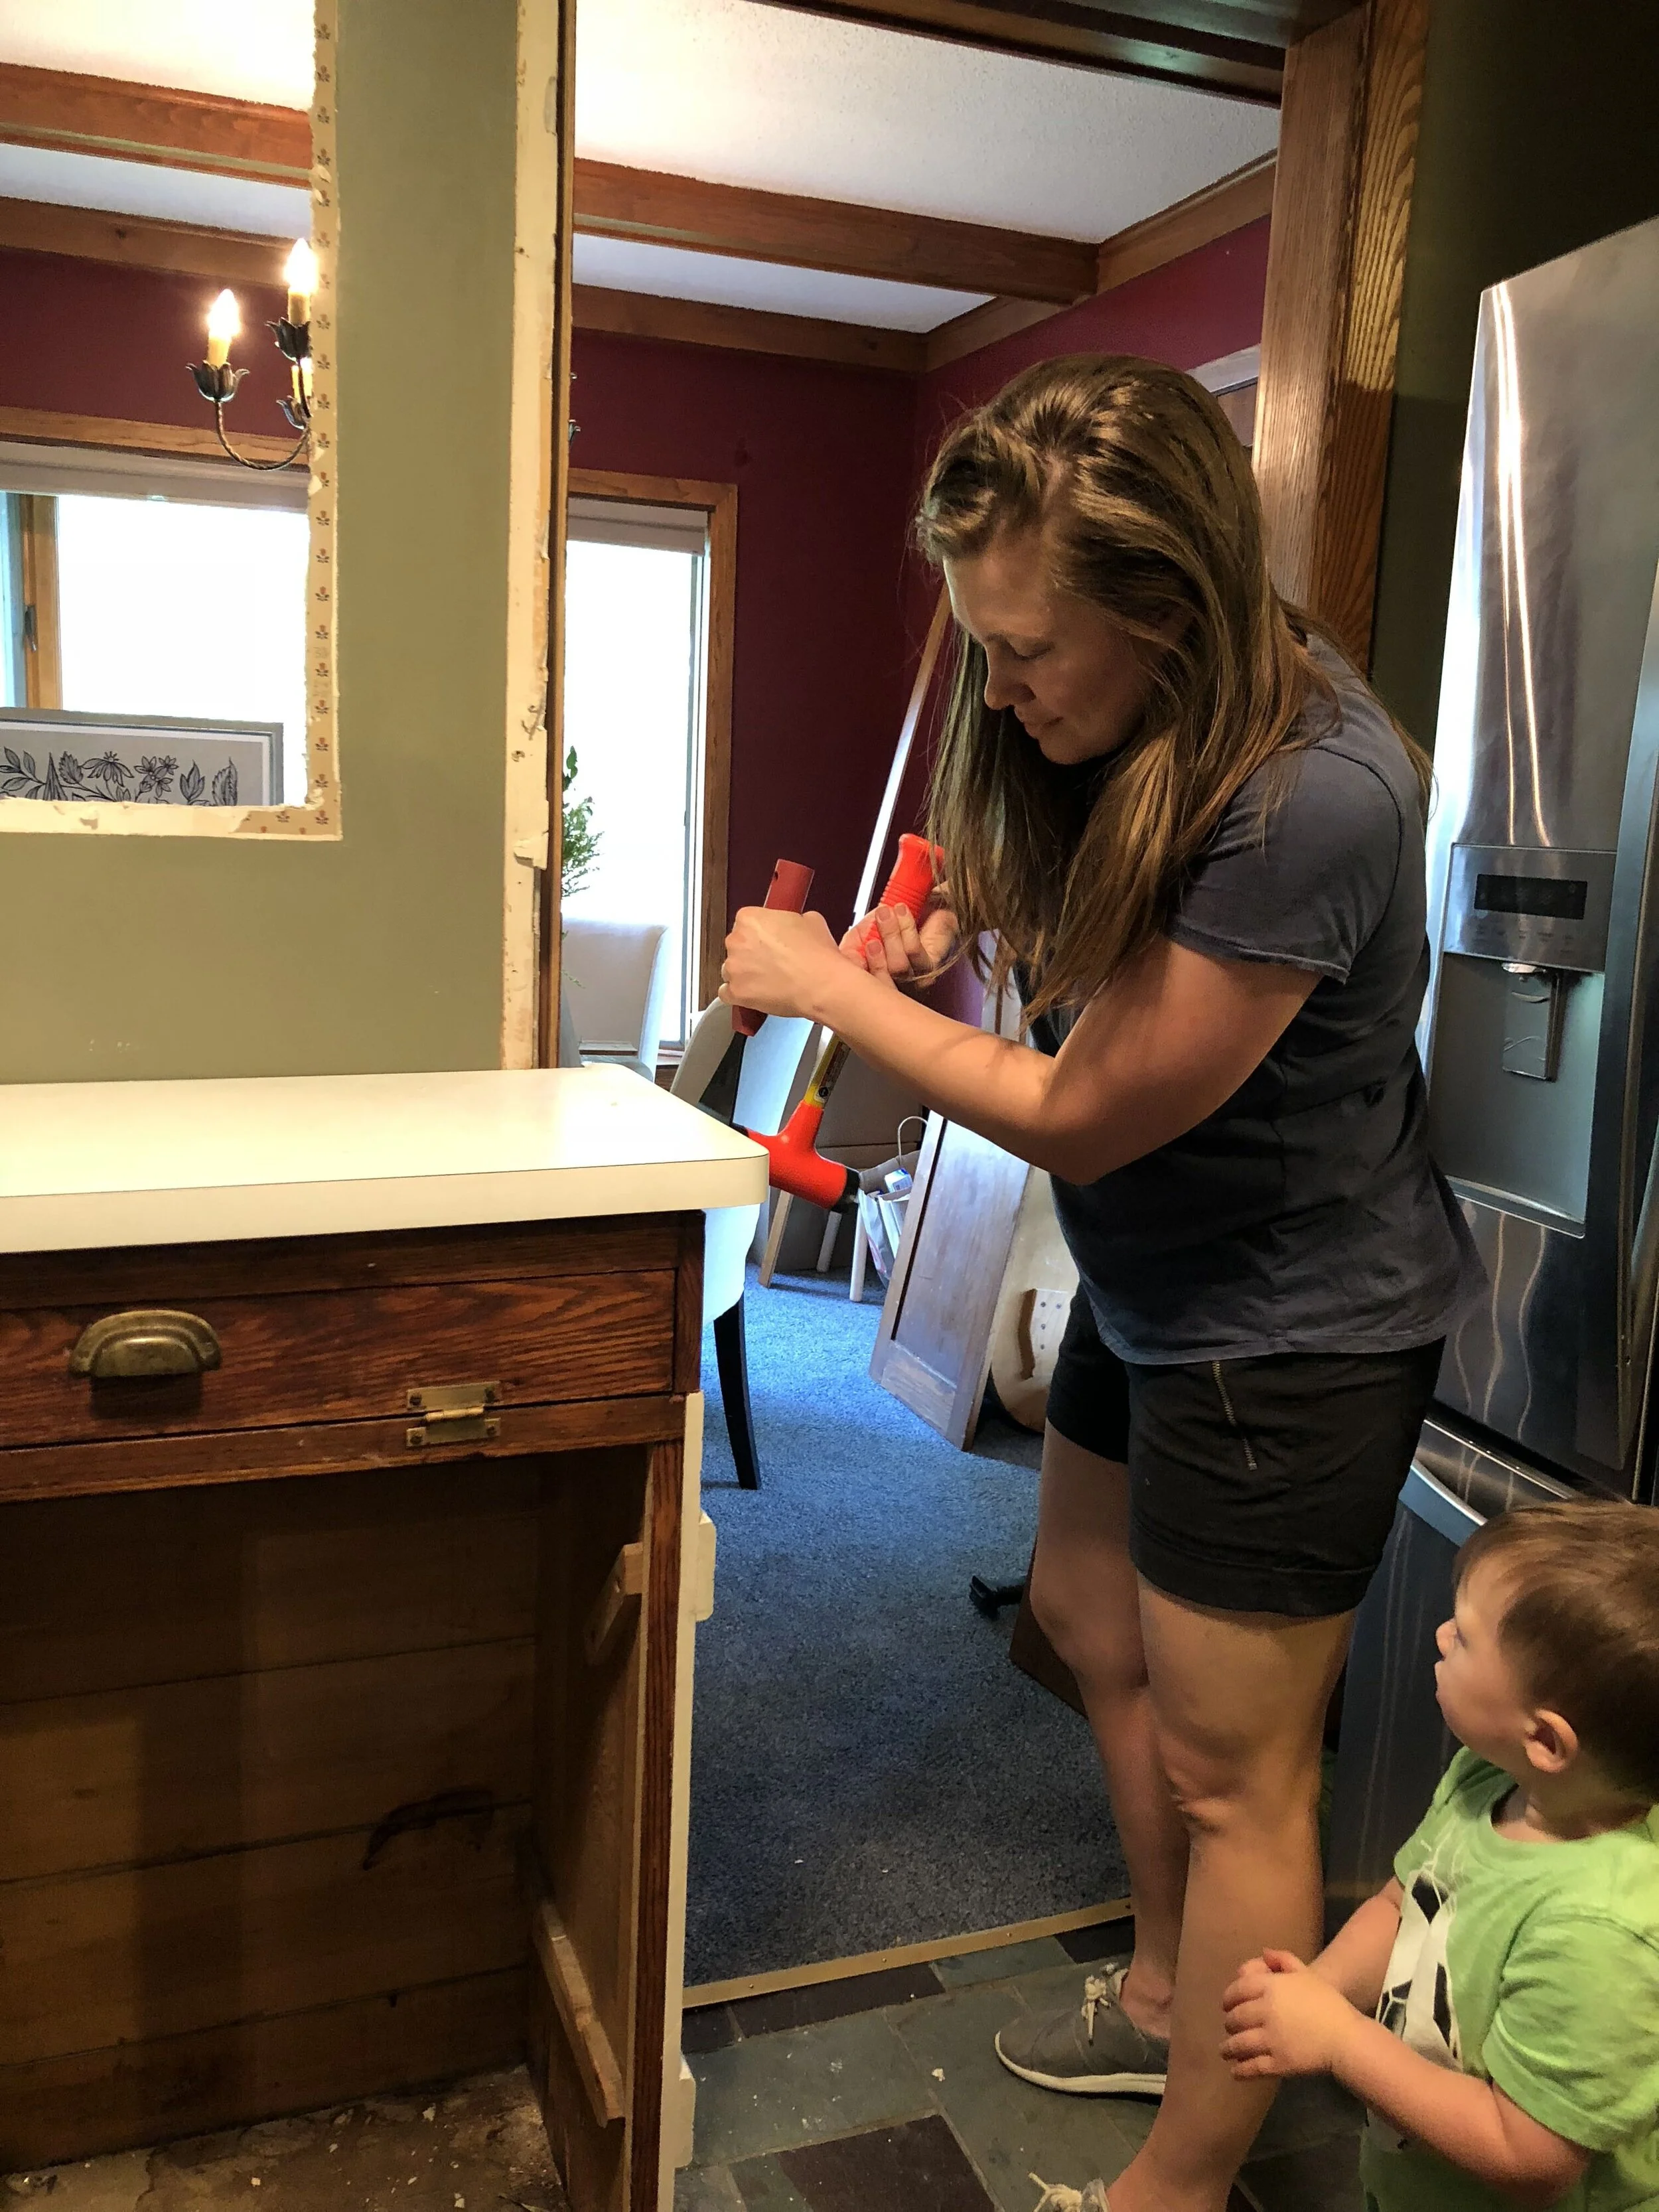
A work in progress, a look at our kitchen remodel progress
Day 6 of the 30-day blogging challenge
DIY
Are you a DIY'er, do you spend your weekends up to your elbows in projects. Or maybe you're a dreamer, who keeps a file folder or Pinterest board loaded with ideas for your home in hopes that someday they'll all come true. Then this post is for you.
As an Interior Designer, my job is to interview the homeowner, find their pain point, create a solution, make selections, and present the ideas. But when I'm doing a project for myself, it looks a little different. Sometimes I get caught up in comparing my own home to my client's homes, which is not a good idea. Why? Well, for starters, we're doing the work ourselves, and I can assure you we're no Chip and Joanna Gaines.
We purchased our home about a year and a half ago and have been working on it every spare moment we get. We started in the kitchen out of necessity. The dishwasher stop working, we hated the fridge, and there were mice, so something had to be done. I, of course, have grand plans of what I want to do "someday," but for now, we're going to piece this kitchen together one Ikea cabinet at a time.
Here's a little sneak peek of what we've been up to and what keeps me busy on the weekends (when I'm not chasing 3 and 5-year-old boys around).
Me on the weekends…
Floors
The floors were the first thing to go. The tile was uneven, dirty looking, and impossible to clean (besides just being ugly). Once these were gone, we were able to put down new peel-n-stick tiles that will hold us over for a few years when we can do wood floors.
Funny story about this picture. My mom came to visit for the weekend, and we started talking about the kitchen and everything I was dreaming of and how to execute it, etc. Before long, we decided the best way to see what was under the tile was to just rip it up! And so we did. When my husband came home from work, he had no idea what was happening at home, but that's most weekends around here.
Moving Appliances
The refrigerator that came with the house was almost new, but it didn't fit the space, wasn't counter depth, and we hated the freezer drawer. We removed some cabinets on the other side of the kitchen so that we could relocate the refrigerator. By doing this, we were able to gain more countertop surfaces in our tiny kitchen.
Dishwasher
When we took out the wall cabinets on this side of the room, it opened it up so much. We couldn't believe how much bigger it felt! Once we got our new Bosch Dishwasher from Warner Stellian, it was time to clean up the walls and prep the area. We sanded, filled holes, primed, and painted the walls.
Paint
Isn't it amazing what a fresh coat of paint can do! We've been using the same shade of white for all the trim and walls throughout the house, its Benjamin Moore Swiss Coffee. I like an eggshell finish on the walls and satin on the trim and cabinets.
Ikea Cabinets
Now is the exciting part, cabinets! We did Ikea cabinets to keep the cost down and because we were looking for a quick turn-around. We used the Ekestad door style (they are discontinuing this style, so don't go falling in love- sorry). We weren't crazy about the color it came in, so we painted them in Sherwin Williams Peppercorn, one of my go-to dark gray colors. And paired with gold hardware from Home Depot.
Butcher Block
We know that this set up isn't our "forever kitchen," so we wanted to use an economical countertop that we could install ourselves, and we could change down the road. I did a little research online and found that Ikea has the best options. They were the least expensive, come in lots of colors and wood species, and we didn't have to special order, which meant we could finish the project that weekend.
Wall Cabinet
In a perfect world, I'd love to leave this area completely open, but its a tiny kitchen, and we need all the storage we can get. Again, we did the Ikea Ekestad cabinet but painted it in the same color as the wall to make it appear more open. We used Benjamin Moore Advance paint for the cabinets, it's holding up very well to our busy family life, and I would recommend it to anyone.
Wall Shelves
We keep our everyday dishes and glasses on these open shelves, which works because its located directly above the dishwasher and near the sink. Not only do I like looking at our dishes, but having open shelving makes the whole space feel larger. We found inexpensive oak boards and wall brackets from Menards, then stained the wood in Minwax Classic Gray to coordinate with the gray base cabinets.
We have a few "finishing touches" to do. Still, we've made some significant progress, and I have to stop and give myself a little credit for getting this far despite two full-time working adults, two little boys, and keeping up with everything that seems to break or fall a-part regularly. For now, this is our updated kitchen. I have to say its a massive improvement and functions so much better for our family.
I'm excited to share tomorrow's post with you! I've got a new series called "Look of the Month" where I will introduce you to a design style you've probably never heard of before.


